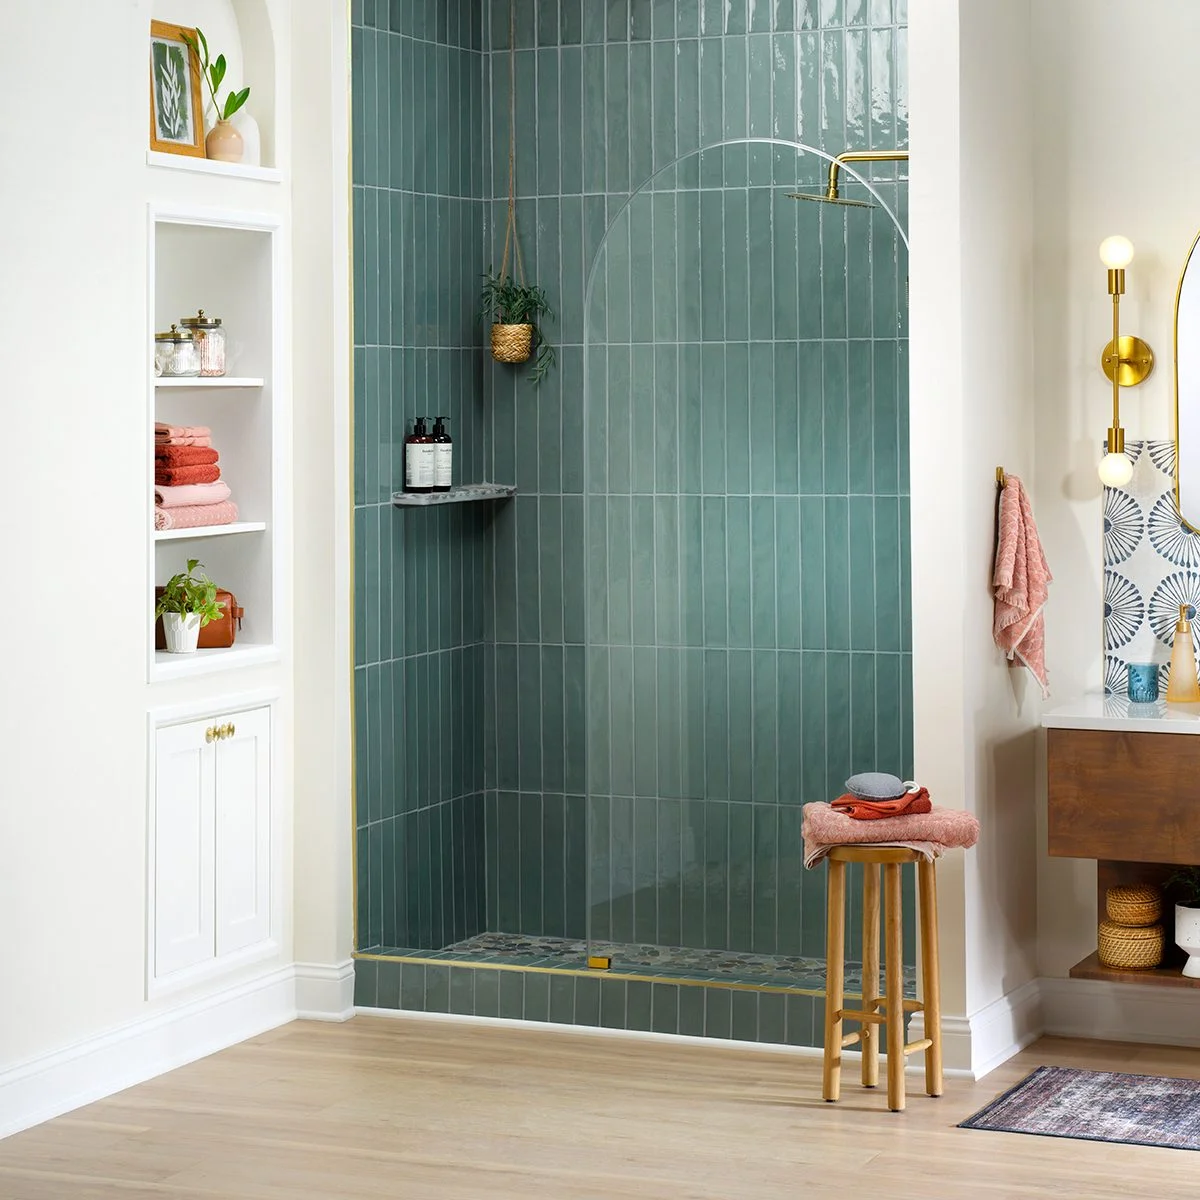
Tiling a shower is a great home improvement project that can be rewarding as well as challenging. You can enhance your bathroom’s aesthetic appeal and increase the value of your home by learning how to tile your shower. We’ll walk you through the steps to ensure that you have the knowledge and confidence to tackle your bathroom remodel and save money on tiling the shower.
Prepare to Tile your Shower
Preparation is the key to any successful tile project. Start by removing all existing shower or tile materials. Protect the area around with plastic sheeting and painter’s tap to stop any debris from flying.
Be sure to clean and dry the area where you will be tiling. The tiles will adhere better if the surface is clean, dry and free of debris. Install a shower liner if your shower does not already have one. This will prevent water damage. Grab your tile tools to start transforming your shower.
How to Tile a Shower
There are many steps involved in tiling a shower. This guide will help you achieve a smooth, professional and water-proof shower finish.
Measurement for Cement Board Placement
Start by measuring the area in which the cement board is to be installed. To ensure that the cement board fits perfectly, it is important to take accurate measurements. You should hire a professional if you are not sure on how to read a measuring tape.
Cut and Install Cement Board
Cut the cement board according to your measurements using a utility blade. Use cement board screws to secure it flush and level.
Caulk Cement Board Gaps
Apply a small amount of silicone caulk between any cement boards. This step is essential to stop water seeping through.
Use a Waterproofing Membrane
Over the cement board, brush or roll on a waterproofing layer. This extra layer of protection prevents moisture from entering the walls, causing mold or water damage.
You can Tile your Shower pan with Mortar and Tiles
Follow the instructions of the manufacturer when mixing the thin-set cement. Apply the thin-set mortar to the shower pan using a trowel with a notch, and then place the tiles, pressing down firmly to ensure that they adhere well.
Mark the Center points and Measure Them
Mark the center points of each wall for your shower tiles. It will allow you to evenly distribute the tiles and align them.
Apply Mortar to Walls
Start at the middle and work outwards, spreading a layer on the wall with a notched trowel.
Install the First Row of Tiles
Install the first row along the bottom wall. Work your way from the center to the corners. To maintain an even spacing between tiles, use tile spacers and remove any excess mortar using a damp sponge.
Finish Tiling
Continue to tile above the first row. Make sure each tile is even and level.
Use Tiles in Odd Places
Cut tiles with a tile cutter, or a wet saw. This will allow you to cover the shower edges and fixtures. You should also consider any additional features that you may want to include, such as a tiled shower niche or a seat for the shower. To ensure an exact fit, measure carefully.
Remove Spacers and Clean up Mortar
Remove the tile spacers after the mortar has dried for 24 hours. Use a wet sponge to clean the tile surfaces of any mortar residue.
Add Grout to the Surface and Let It Cure
Apply the epoxy grout to the gaps in between the tiles with a rubber grout float. Mix it according to the instructions of the manufacturer. When you are finished, wipe away any excess grout with a wet sponge and let it cure for 24 hours.
Grout Haze
Use a clean, dried cloth with a grout-haze remover to remove any grout haze from the surface of the tile shower.
How to Seal Tiles and Grout
To protect your shower from damage, seal the tiles and grout by going left to right. Let the sealer dry and wipe off any excess with a clean, dry cloth. Sealing helps prevent stains and moisture damages.
DIY vs. Hiring a Professional to Tile Your Bathroom
Shower tiling is a time-consuming project that requires patience and precision. While DIYing can be a great way to save money, it also requires a high level of attention to detail and skill. If you need tiling supply in Auckland, ensuring you have the right materials is crucial for a successful project. You should hire a tile contractor if you are not confident or do not have the necessary tools. The professionals have the experience to do the job correctly and efficiently, saving you time and frustration.

